
Since I have been playing around with a little HDR lately, I thought I would take this opportunity to give an overview of my current workflow for HDR using Luminance HDR v.2.2.1 (note: 2.3.0 is the latest version). Luminance HDR is an open source visual HDR workflow application that can be downloaded here. They take donations so please help support their effort if you find the software useful. So… on with the show….
The first requirement is a few bracketed photos of your chosen subject. I usually take at least three and as many as seven photos bracketed between .7 and one full stop between each photo. My decision depends on the subject and the available lighting. For best results, keep the ISO and aperture the same on all photos. Just change the shutter speed. I have also found that I prefer to manually focus on the subject as I have had instances where auto focus actually changes the perspective of the bracketed images slightly, making a less than desirable end result. If possible always use a tripod. Below are the three photos I chose for this project:
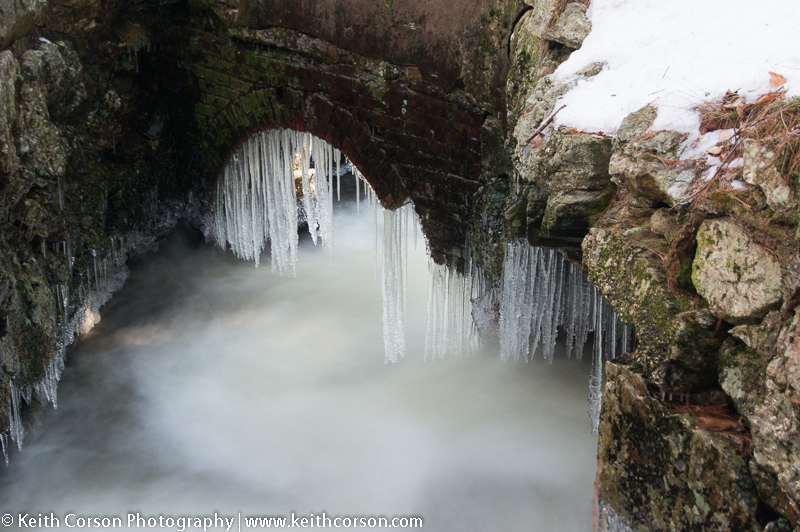
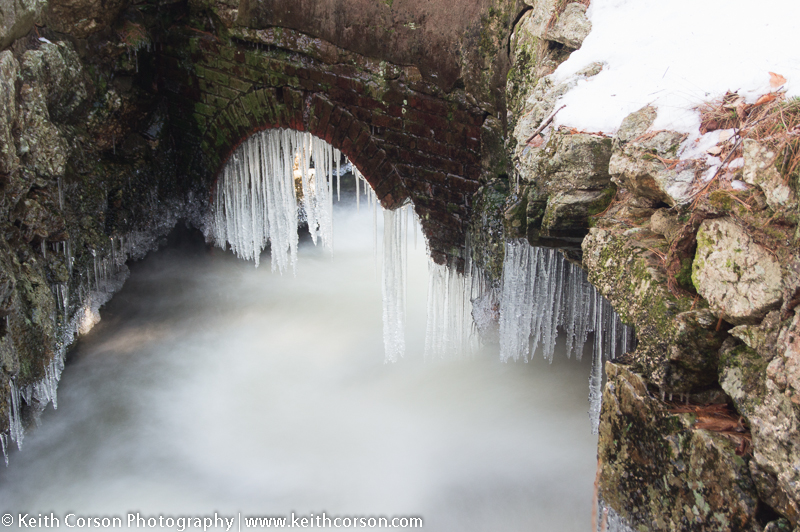
2 sec @ f8.0, ISO 400, 55mm 3.2 sec @ f8.0, ISO 400, 55mm 5 sec @ f8.0, ISO 400, 55mm
Next, using Luminance HDR I choose ‘New HDR Image’ from the toolbar which opens the HDR creation wizard. Hit ‘next’ and add the chosen images. Luminance will load and analyze the images (this may take a few seconds to a couple of minutes). After Luminance is finished analyzing, I usually check the box next to ‘Autoalign images’ to make sure the images are aligned correctly in case of a little tripod shake.
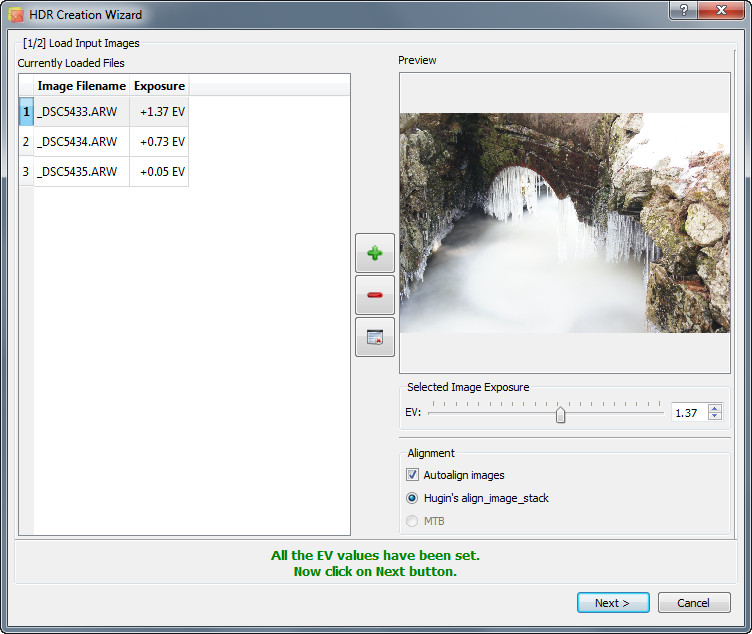
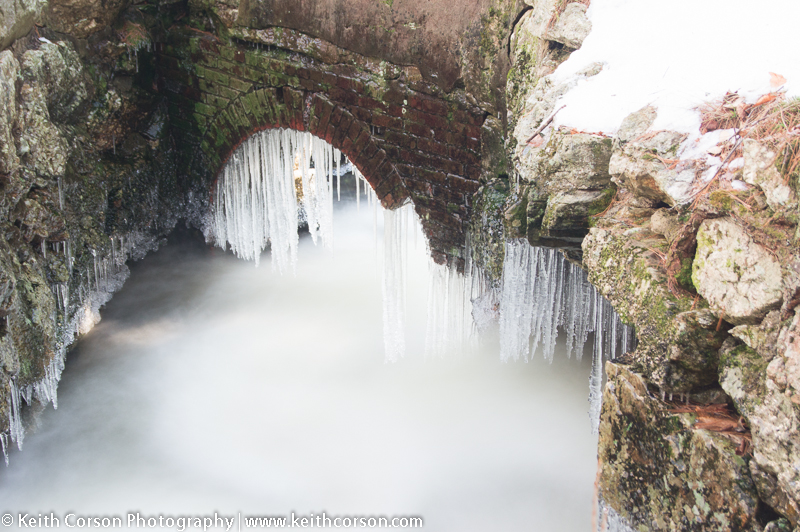
Hit ‘next’ and wait a few more minutes while the images are aligned. When complete, I use the default profile ‘Profile 1’ and ‘Finish’. Below is the result of blending/merging the selected photos:
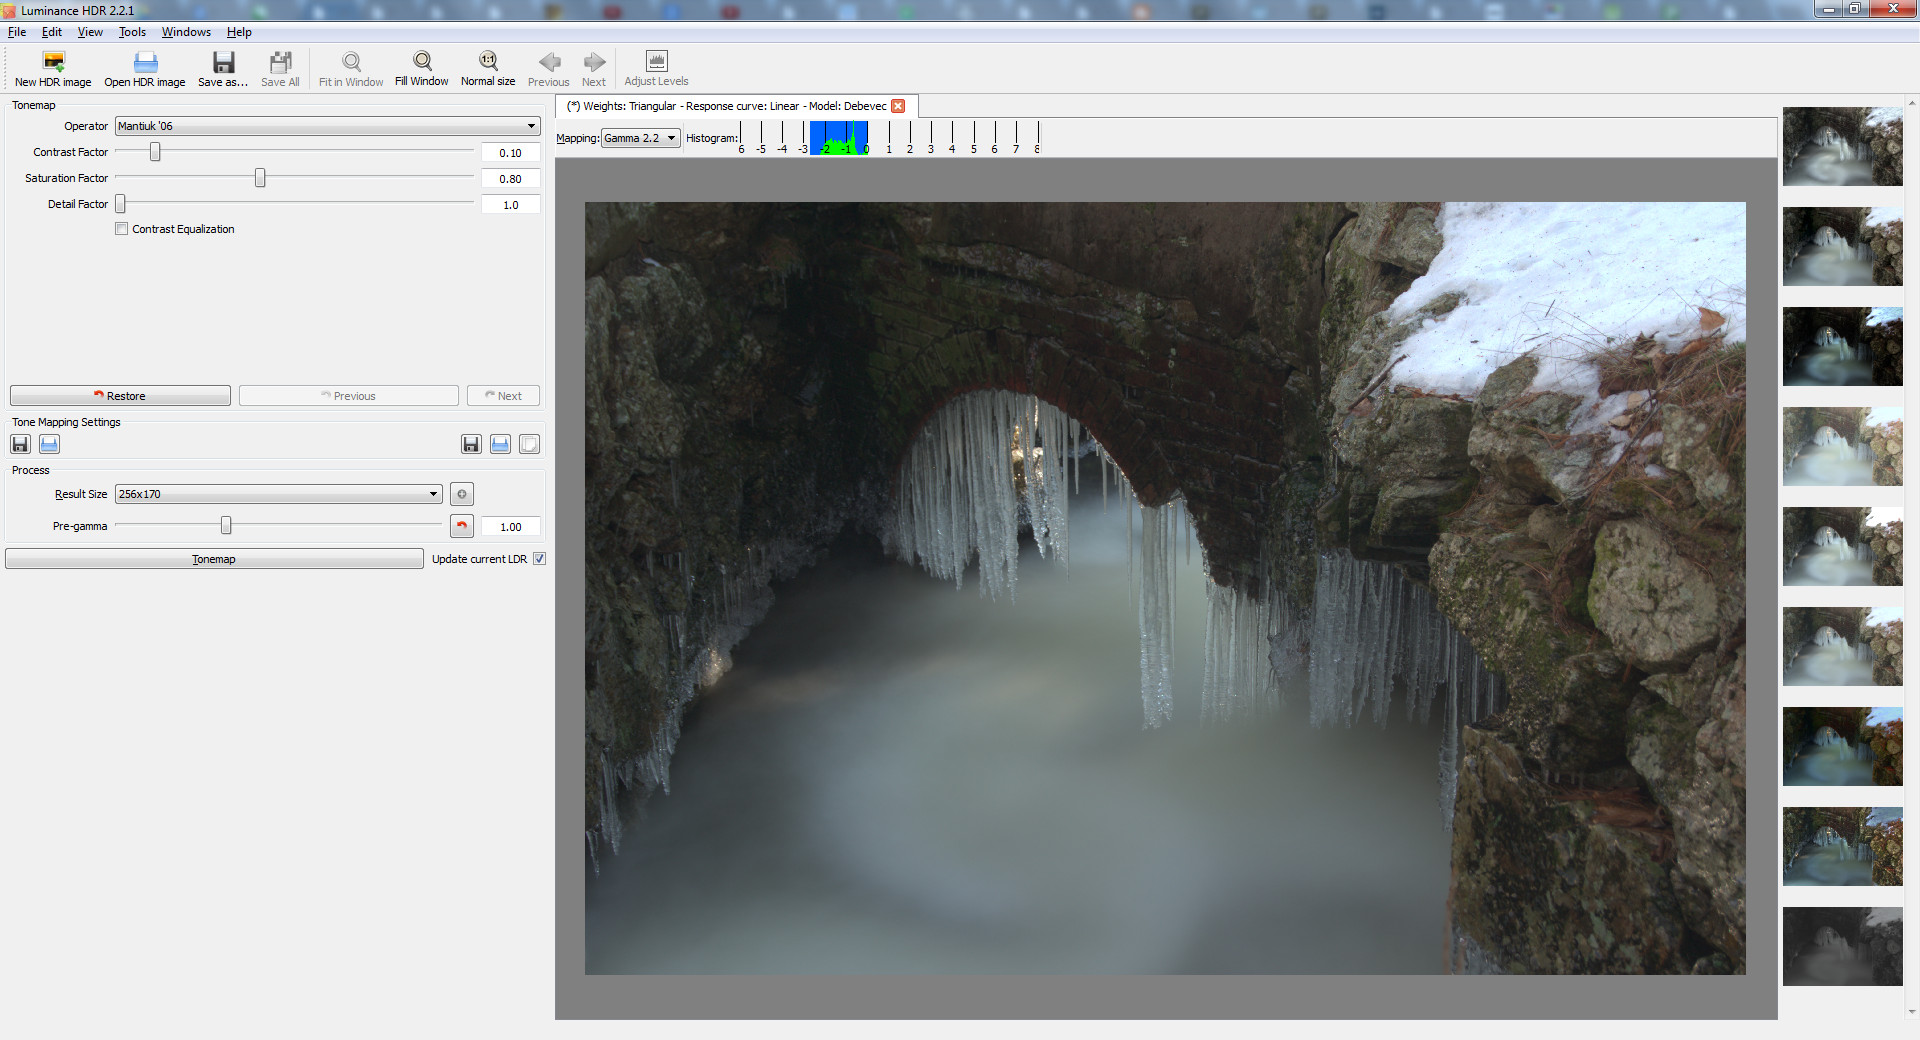
From here you can save the file and import into your photo editor of choice or select a tone map operator. I like a couple of the built in operators, but my favorite is Manituk ’06. I typically use the following settings, but play around with them as your preference may not be the same as mine:
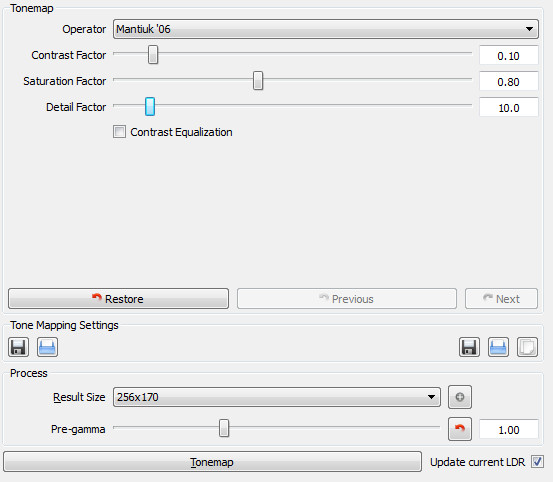
My next step is to select the ‘Tonemap’ button using a low ‘Result Size’ just until I get the look I want. Using a low result size will speed up the image processing. Once I get the look I want, I increase the result size to 4096 X 2726. I have found that in this version of Luminance HDR, any higher result size will crash the program. Select the ‘Tonemap’ button and wait again. Below is the resulting image:
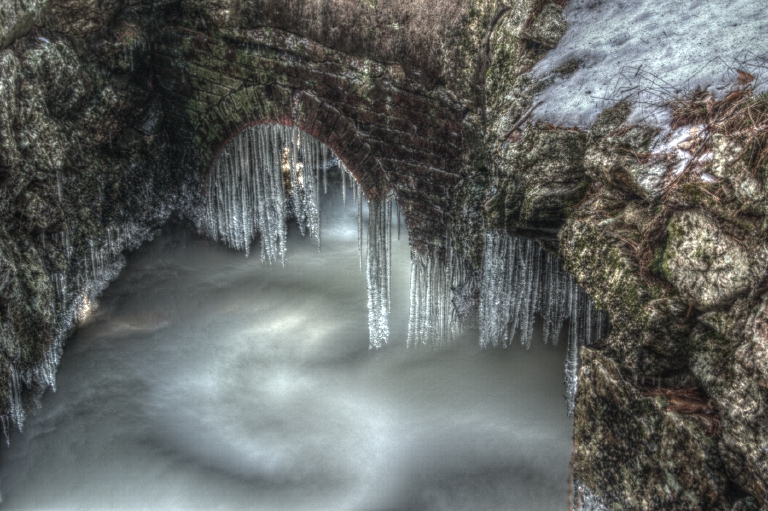
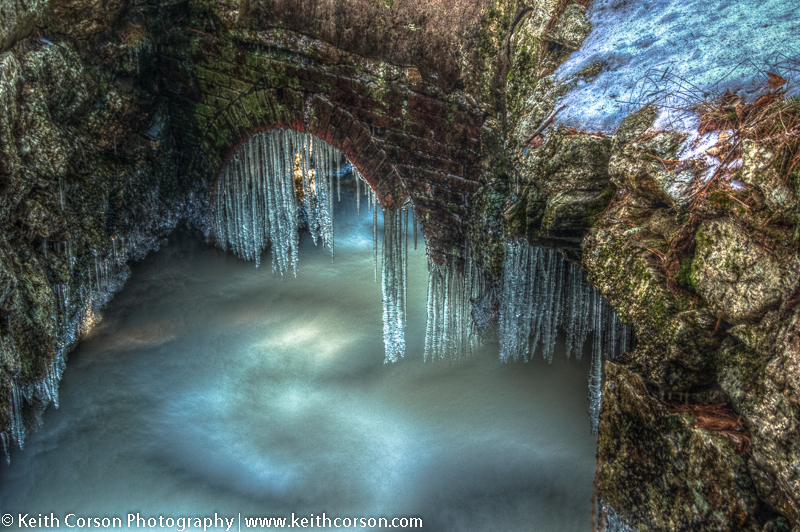
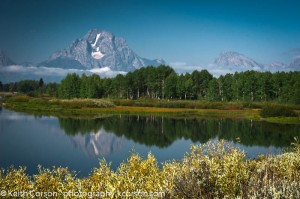
I save the result as a 16 bit TIFF and import into Adobe Lightroom. I develop to my liking and the result is at the top of this page. Hope you like and feel free to e-mail me if you’d like more information.
Daniel
22 Sep 2013Thanks for the info! I’ve been playing with Luminance for a while but haven’t gotten very good results until reading this post!